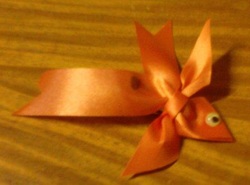
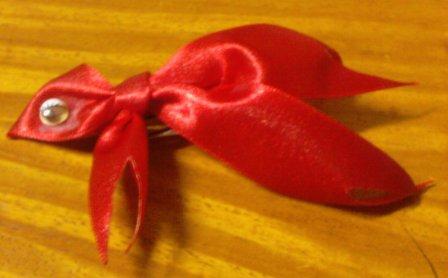
A cute goldfish that I found on the net while trying to see how the Bow Ribbons have evolved and I found this particularly interesting plus it is easy to make.
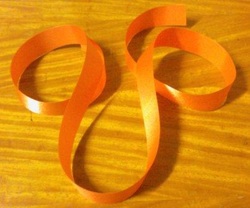
We Just need a ribbon 1"x10" and another 6" long.
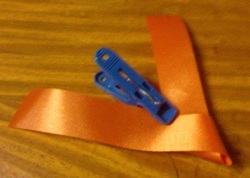
Find the middle and create a triangle like so.
Fold just below the small triangle for the fin.
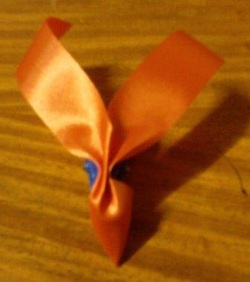
Get the 6" long ribbon and fold thirds at the middle
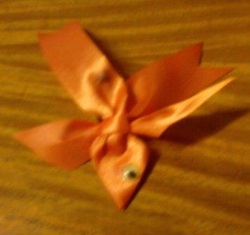
Then tie it where smack right where you folded. Finis the ends like so. Don't forget to glue an eye or draw it as warranted.

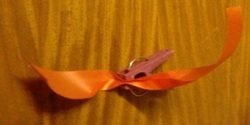
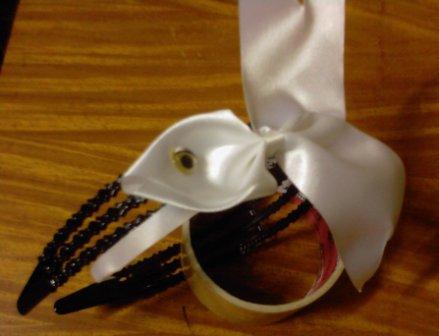
Glue it on a Hair Clip.
And here it is ready for a silky hair.
Other samples of Fish bows made on different ribbon colors. Simple manipulations were done on the other examples which surely is easy to follow.
This is a tutorial on how to patch a T-shirt that got hole on them, either they got caught on a hook or a hole suddenly appeared on your favorite shirt. It is also inexpensive because we will not spend any for the patches. And pretty easy with one step. The whole procedure can be done in 10 minutes max.
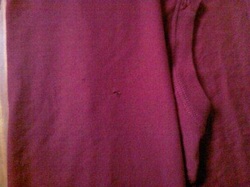
Start of by collecting your destroyed T-shirt.
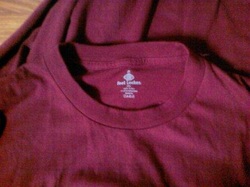
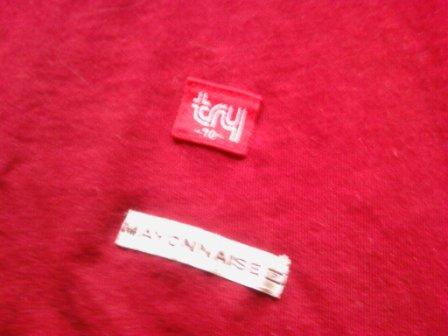
Look for its own tag. Unfortunately for this shirt, none on it.
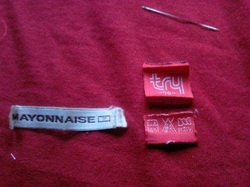
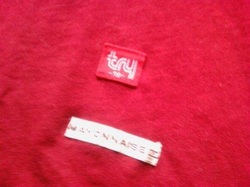
So look for other shirt with clothe tags with the same color as as your T-shirt, in this case red. If none can be seen, the nearest color is good enough.
Size it up on the whole and remove excess if necessary.
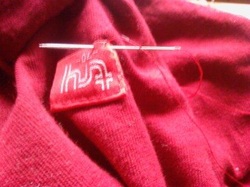
It only have on procedure and that is to back-stitch each clothe tag on each whole.
When you are done it would look fine and unnoticeable. It adds flare to your t-shirt. The closest people would suspect was you were trying to decorate your shirt.
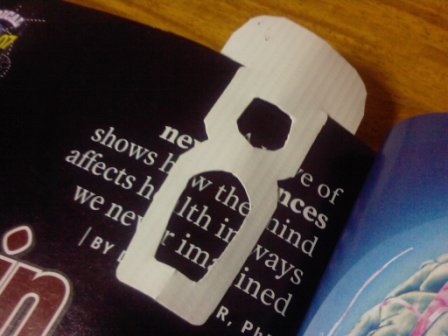
It look like a sculpture of something I cannot figure out of which I saw somewhere, any way this is the Number 8 we will make as an effective bookmark.
We need a tarpaulin size 3.5x1.5 inches.
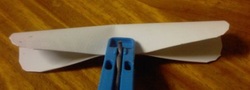
Fold it lengthwise the smoothen the edges.

Half inch from the bottom cut straight 1/3" before the other side then cut straight up half inch before the top.
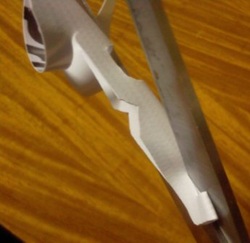
Then cut a small triangle from the middle piece above the center as shown. You are now ready to cut the holes at the other side to create number 8.
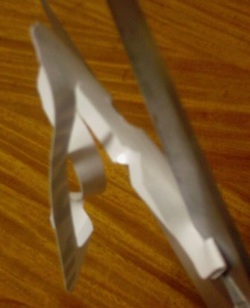
Another view of the output.
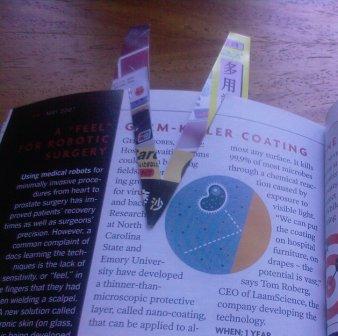
When you followed the instructions properly you should have this bookmark. Otherwise, review where you did not follow.
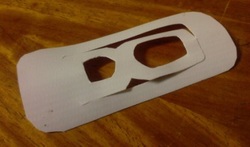
Number 0 is shown.

The other side shows number 8.
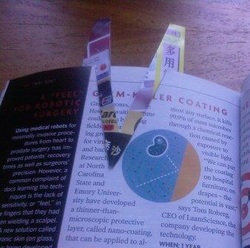
When the book is closed, it looks like a regular bookmark unbeknownst is the number 8 and 0 inside.
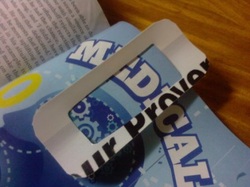
This is a project cutting out letter M and using it as an effective bookmark.
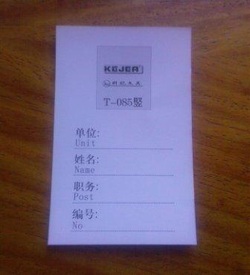
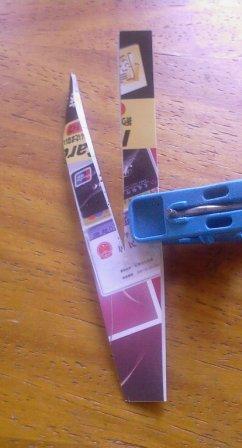
We need a cardboard, I have here one inserted in my ID holder. Measured at 2x4 inches.
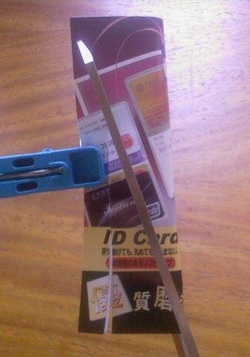
Start by folding it lengthwise then cut 1/3 inch as the foot of letter M stopping 1.5 inch before the top. From the middle cut straight across to meet the end of the other cut.

Then measure 1/3 inch from the other end and cut across to the side as shown.
Your cuttings should show something like this.
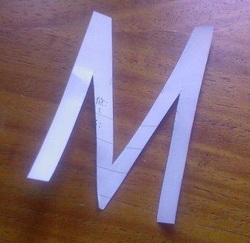
Unfold it to show the letter M.
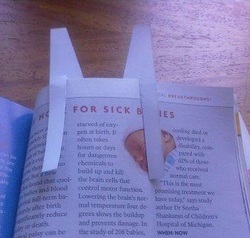
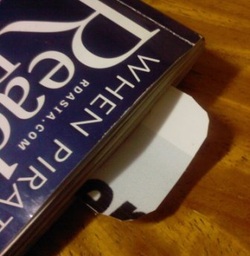
This is a good bookmark for it holds the pages for it not to accidentally fall.
Other side shown.

Like something mysterious under the sheets.


 RSS Feed