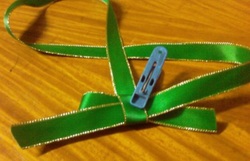
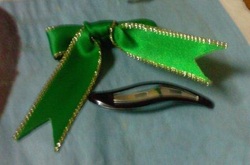
This is the basic ribbon accessorized for the hair clip. A delightful design that glamorize every girl.
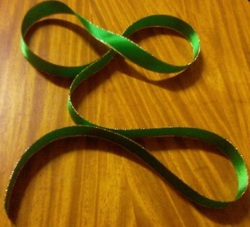
We only need one material for this project and that is the ribbon. For this ribbon it is 3/4 inches wide.
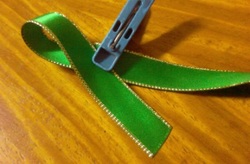
Fold 3 inches downward.
The same 3 inches for the other end, leaving 2 inches in between (as shown), now slowly resembling the knot that we wanted.
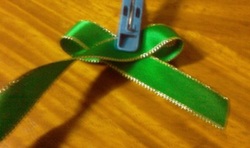
From the second fold, continue tying it at the middle by using the longer end.
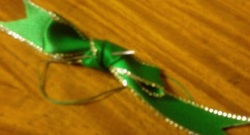
Rotate it until it comes around one time.
Then insert the long end to the middle of the circle you made to tuck it in.
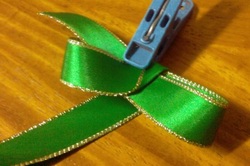
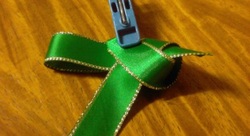
Finish by clipping both ends like so.
To secure the knot tightly, sewn in.
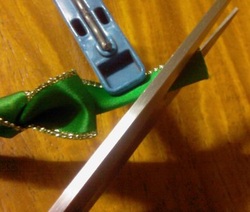
We are now ready to glue it on the hair clip.
This is a Lantern with a candle inside. A great outdoor or indoor Christmas design that everyone will appreciates.
The famous christmas chimes were embedded totally in this balloon bell. A great decor on Christmas, outdoor or indoor.
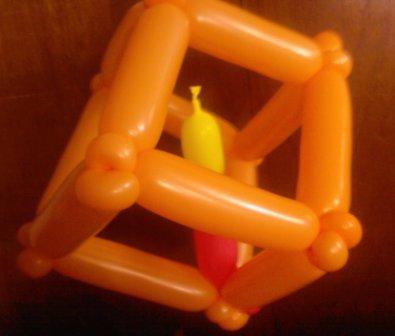
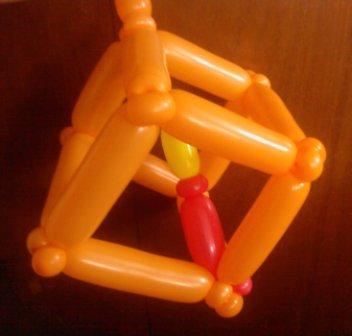
Got crazy with a huge star lantern with fun assorted colors.
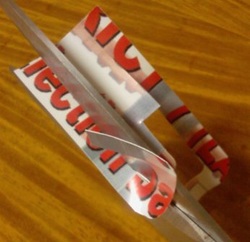
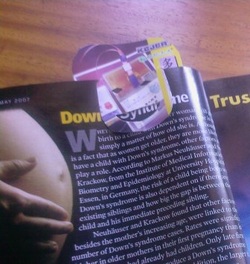
Letter J bookmark is an innovative take on the regular bookmarks we buy from the stores.
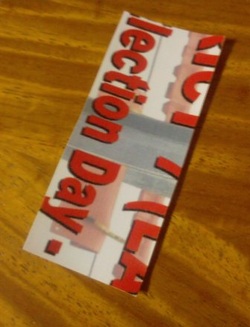
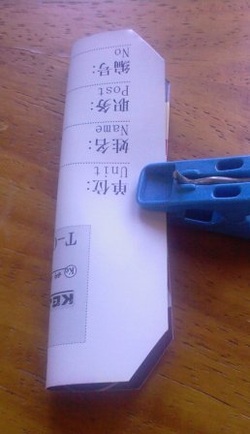
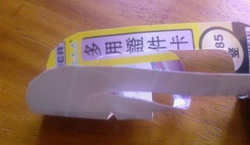
We only need a Tarpaulin which we cut from promotional ads scattered around the block. It measure 3.5" x 1.5".
Fold the tarpaulin lengthwise, smooth-en one side by cutting.
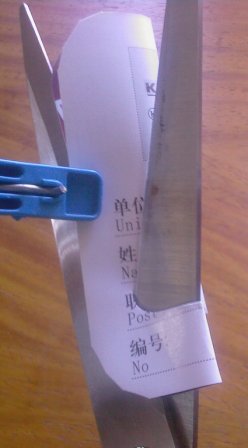
Start cutting the big letter J by following the edge at 1/3" width and stopping half inch before the top.
Reverse and cut out the second J from the middle and stop half inch before the top.
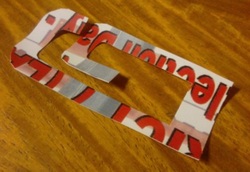
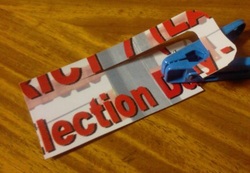
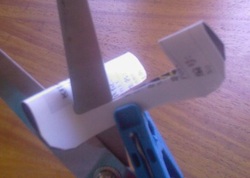
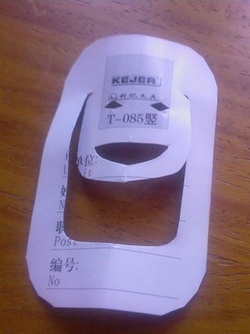
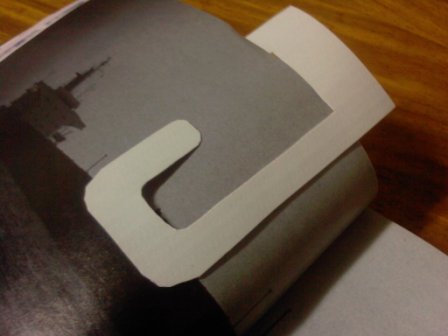
Clear the middle by removing it. And your output will look like the picture shown.
This is the big letter J.
The second and smaller letter J.
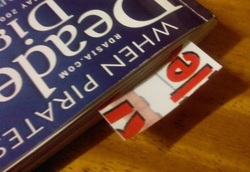
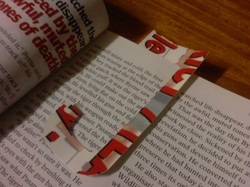
Looks like a regular bookmark when the letter J cannot be seen but when you open the book you see creativity.
Reminiscence of the
Masskara Festival of Bacolod. For our project a smile for every page. The bookmark of smiles.

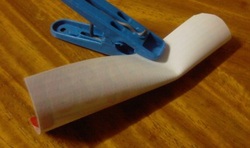
For this tutorial, we only need a cardboard size 2 inces by 4 inches.
Cut out the sides to create fuller edges.
Half inch from the bottom, cut straight then curve up half inch.
Half inch before the top, start cutting at a curve then stop. Do not cut all the way through.
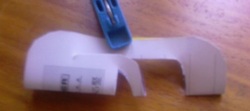
Remove 1/3 of the middle piece as shown. What is left will become the smiley. Cut the mouth like shown.
Fold the middle piece to be able to cut triangles to where the eyes should be.
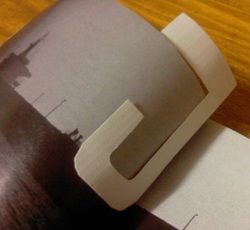
Your bookmark should look like this now when unfolded.
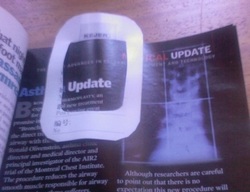
Letter O shown from this side. And the smiley is at the other side of the page in turn holding the page to prevent it from accidental removal.
Stress free warm smile every time you open your book.
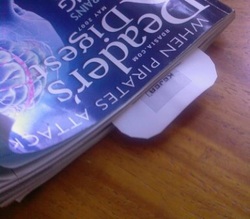
Shown as a regular bookmark. With happiness inside.


 RSS Feed