A delicate flower on your hair is simple to make and a lot of fun.
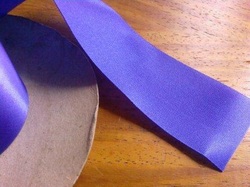
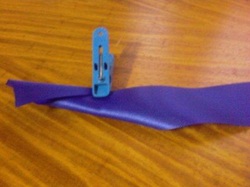
Cut 8 inches of a 1.5 inch wide ribbon
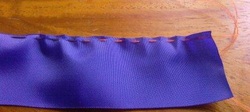
Do a running stitch (of small distances) at one end. Then tie both ends of the thread tightly to create the center of the flower.
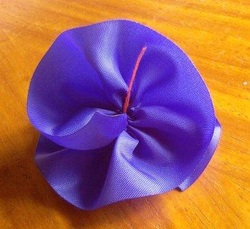
Rotate the Ribbon as to how you would like your flower look like. For this project, it was overlapped for a quarter only.

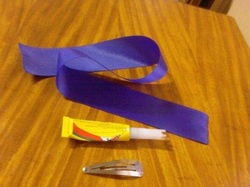
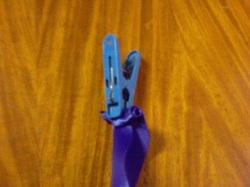
Cut the thread longer to replicate a stamen then glue it on a hair clip.
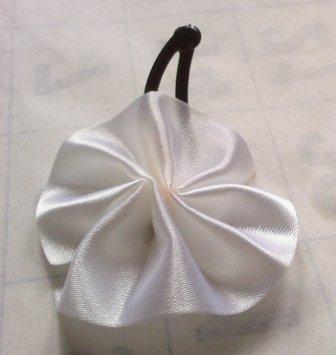
This simple rose flower was done easily with simple steps and few materials. Perfect with small girls who dream to be a princess.
We need a ribbon of a foot long and an inch in width, a glue or glue gun, and a hair clip.
Fold the ribbon each time by 35-40 degrees.
While folding, you need to roll it to form the rose.
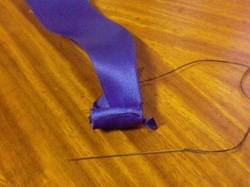
While folding and rolling, sew at the base to secure the design.
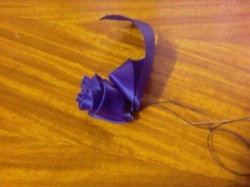
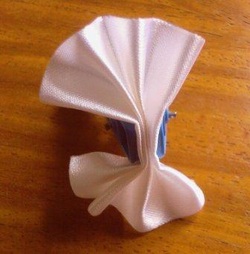
When you roll the ribbon, do not just roll it all the way. At the third of each roll you make fold it back for 1/4 inch until the end to create the petals as well as to make the rose bloom.
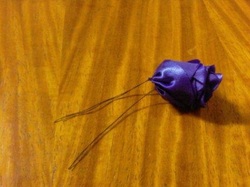
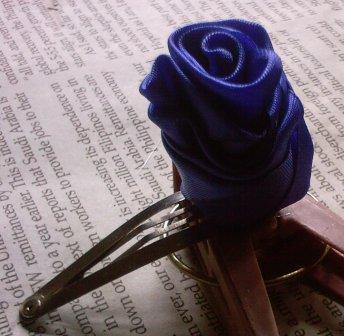
When you are done. The rose flower will look like this.
After which, glue it to a hair clip.
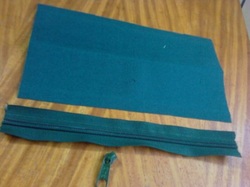
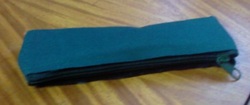
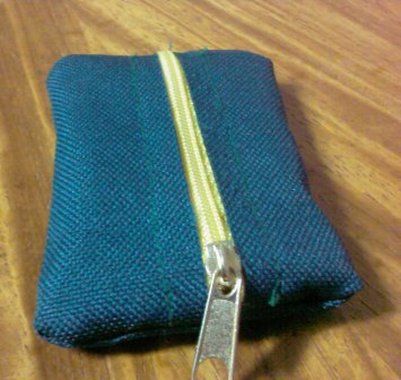
This coin purse have the zipper at the center. So that when you need money just unzip it and open it by pressing opposite edge of the zipper with your palm and fingers for it to open.
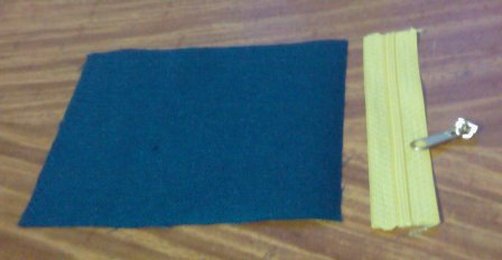
For this wallet we need:
1) A cloth or some water proof material like that of backpacks, size 4" x 5".
2) 5" long zipper and its slide.
How to make it is tricky, if you are unable to visualize the procedure, because you have to see the other DIY to understand what I am talking about. (I am sorry for failing to document the procedure, I was caught up in the moment.)
Procedure:
1) Sew the zippers at the 5" sides. On opposite sides.
2) Insert the zipper slide.
3) Turn it inside out and sew both the open sides.
4) Reverse the coin purse to reveal the finish project.
Organize your pens and pencil for easy picking inside the bag. Use a pencil case, or better yet, make your own.
We need:
1) A 9" x 5" water proof material like that of a backpack or a tarp.
2) A zipper, 9" long.
3) Zipper slide.
We continue by:
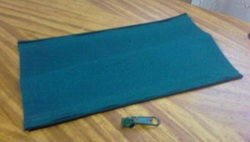
1) Sew the zippers at both sides of the material. (Somewhat not clear in picture but there's a zipper)
2) Insert the zipper slide.
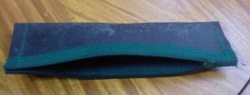
3) Put on its wrong side and sew the sides.
And we have the finish product. Its that easy and fun.
Totally easy to make. Very simple yet elegant.

We need 2"x2" ribbon
Fold half inches all the way, creating 3 folds on the bottom and four folds on top. Be mindful not to press the folds at the edge and only at the middle.
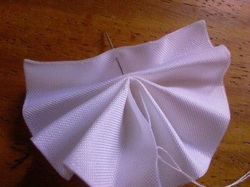
Sew it in at the bottom to secure the folds.
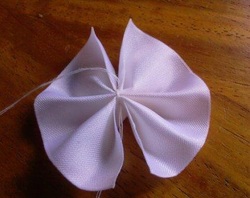
Then spread the folds, creating a round flower.
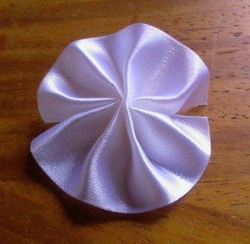
Your project should look like this.
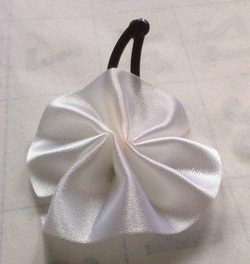
When posted to a hair clip, it would look like this. Funny, the picture is liken to a snail.

 RSS Feed