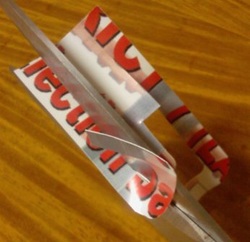
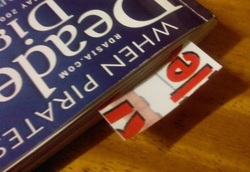
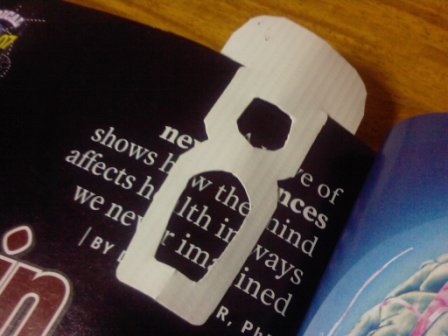
It look like a sculpture of something I cannot figure out of which I saw somewhere, any way this is the Number 8 we will make as an effective bookmark.
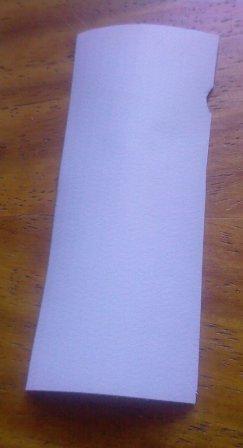
We need a tarpaulin size 3.5x1.5 inches.
Fold it lengthwise the smoothen the edges.

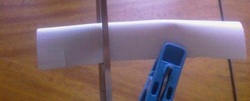
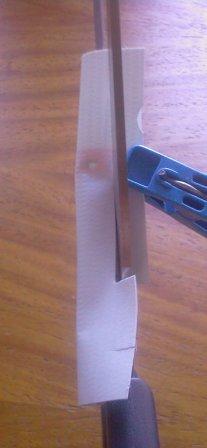
Half inch from the bottom cut straight 1/3" before the other side then cut straight up half inch before the top.
Then cut a small triangle from the middle piece above the center as shown. You are now ready to cut the holes at the other side to create number 8.
Another view of the output.
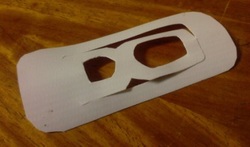
When you followed the instructions properly you should have this bookmark. Otherwise, review where you did not follow.
Number 0 is shown.

The other side shows number 8.
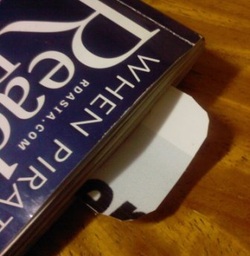
When the book is closed, it looks like a regular bookmark unbeknownst is the number 8 and 0 inside.
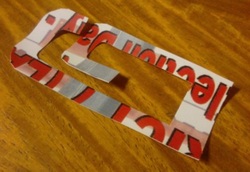
This is a project cutting out letter M and using it as an effective bookmark.
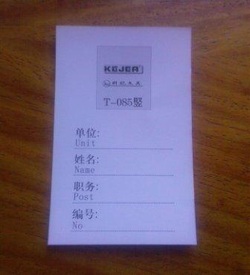
We need a cardboard, I have here one inserted in my ID holder. Measured at 2x4 inches.
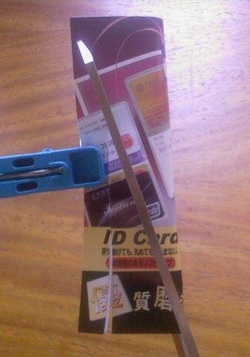
Start by folding it lengthwise then cut 1/3 inch as the foot of letter M stopping 1.5 inch before the top. From the middle cut straight across to meet the end of the other cut.

Then measure 1/3 inch from the other end and cut across to the side as shown.
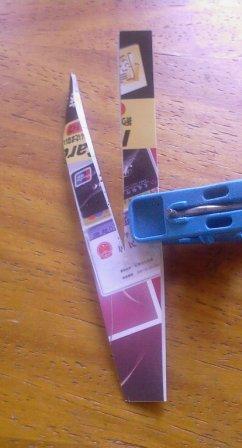
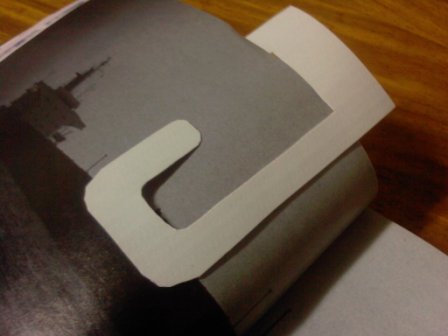
Your cuttings should show something like this.
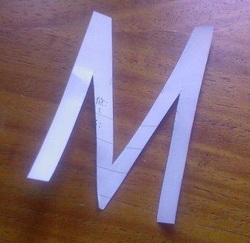
Unfold it to show the letter M.
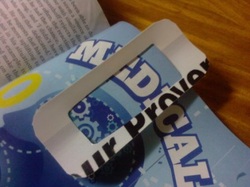
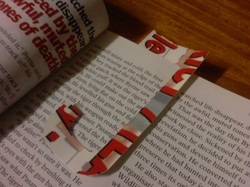
This is a good bookmark for it holds the pages for it not to accidentally fall.
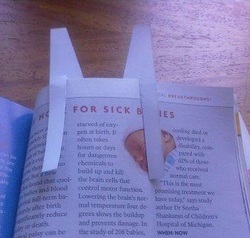
Other side shown.

Like something mysterious under the sheets.
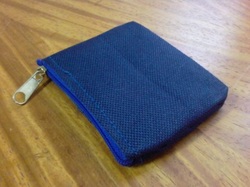
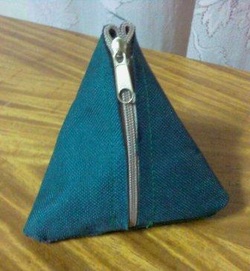
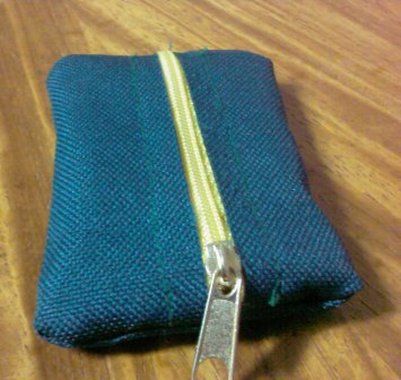
This coin purse have the zipper at the center. So that when you need money just unzip it and open it by pressing opposite edge of the zipper with your palm and fingers for it to open.
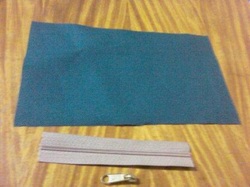
For this wallet we need:
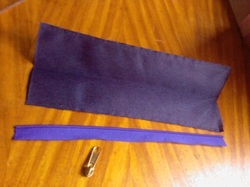
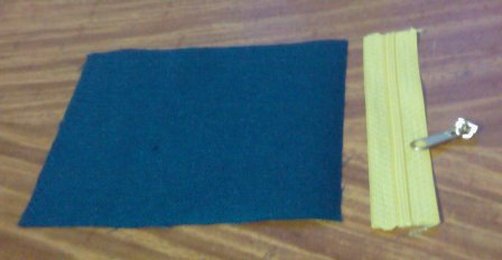
1) A cloth or some water proof material like that of backpacks, size 4" x 5".
2) 5" long zipper and its slide.
How to make it is tricky, if you are unable to visualize the procedure, because you have to see the other DIY to understand what I am talking about. (I am sorry for failing to document the procedure, I was caught up in the moment.)
Procedure:
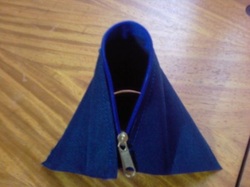
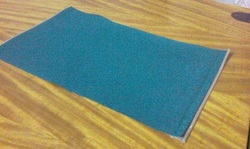
1) Sew the zippers at the 5" sides. On opposite sides.
2) Insert the zipper slide.
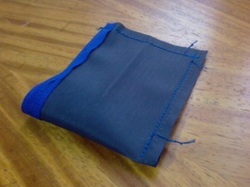
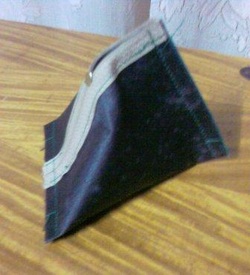
3) Turn it inside out and sew both the open sides.
4) Reverse the coin purse to reveal the finish project.
Organize your pens and pencil for easy picking inside the bag. Use a pencil case, or better yet, make your own.
We need:
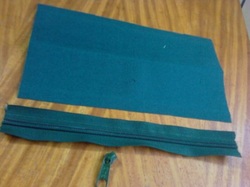
1) A 9" x 5" water proof material like that of a backpack or a tarp.
2) A zipper, 9" long.
3) Zipper slide.
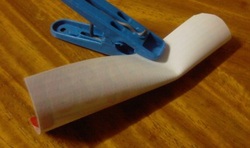
We continue by:
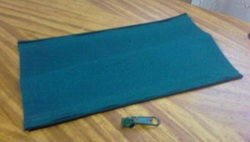
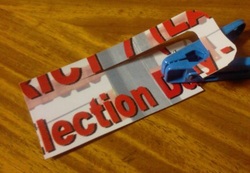
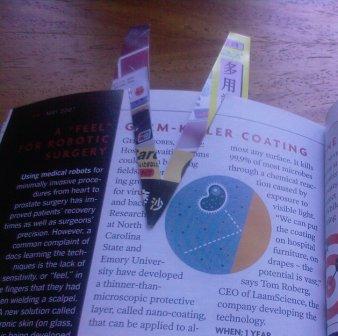
1) Sew the zippers at both sides of the material. (Somewhat not clear in picture but there's a zipper)
2) Insert the zipper slide.
3) Put on its wrong side and sew the sides.
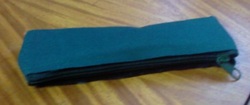
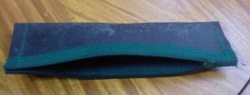
And we have the finish product. Its that easy and fun.
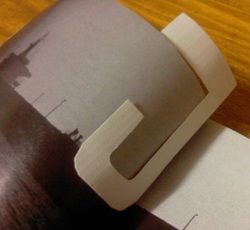
Letter J bookmark is an innovative take on the regular bookmarks we buy from the stores.
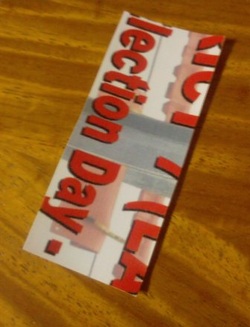
We only need a Tarpaulin which we cut from promotional ads scattered around the block. It measure 3.5" x 1.5".
Fold the tarpaulin lengthwise, smooth-en one side by cutting.
Start cutting the big letter J by following the edge at 1/3" width and stopping half inch before the top.
Reverse and cut out the second J from the middle and stop half inch before the top.
Clear the middle by removing it. And your output will look like the picture shown.
This is the big letter J.
The second and smaller letter J.
Looks like a regular bookmark when the letter J cannot be seen but when you open the book you see creativity.
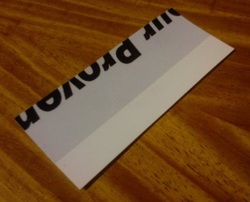
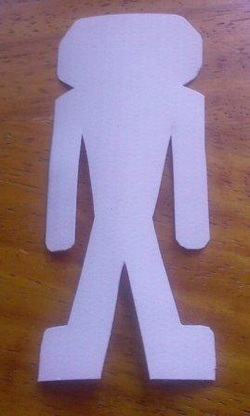
Its a bookmark shaped like a man. An innovative take for a useable and delightful bookmark.
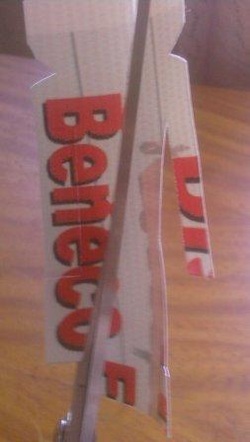
We only need a tarpaulin at 3.5" x 1.5".
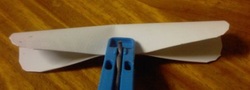
Cut 1/3" from one side to serve as the feet. Then move and inch higher to cut out the hands.
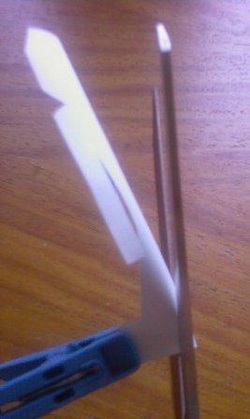
Cut 1/3" from the side then move upwards until 1.5" before the top.
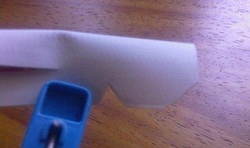
From the top, measure 1" then cut out a small triangle as shown to serve as the separation of the head and body.
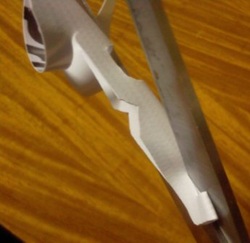
Unfold it then form the foot, cut towards the center or almost at the center to give allowance for the waist and body as shown. Do it at both side. Shape the body not to thin so that it will not easily break.
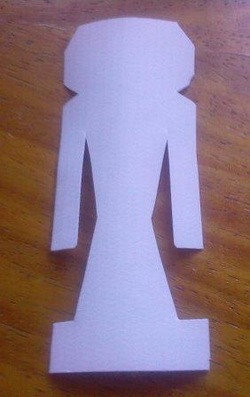
There you have the sexy output that look like an Egyptian king or mistress.
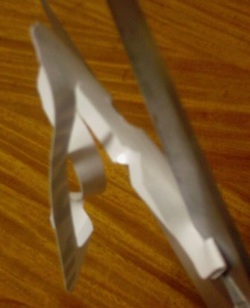
Put a modern look by showing the foot. Cut at the base with feet as wide as the hands.
These is a modern man with hood. make sure to smoothen the hands to give an appealing look.
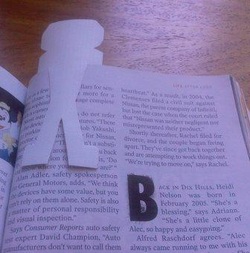
Shown is the proper way to bookmark, the man holding the page with both his hands.
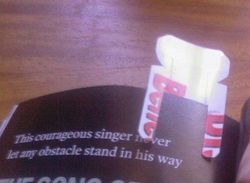
The man shown from the other side.
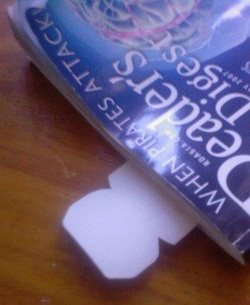
Head and shoulder shown when the book is closed.
Lets try to make a coin purse with a long zipper, with out cutting it and sewing at opposite ends.
We need:
1) 8" x 4" cloth or like what I used here is a water proof material used in back packs.
2) 8" long zipper, yes it have no partner.
3) Zipper slide.
Few materials to work with. Very easy project.
We start off by:
1) Sew the zipper at one of the edge, the put the zipper slide.
2) Put it at its wrong side.
3) Sew the open side.
4) Sew the open bottom.
(You don't need to do this) I wanted to secure more the stitches by tying the threads before cutting them.
5) Reverse the coin purse and we have our done project.
This is a fancy coin purse which you cannot hide in your pockets but in you bags.
Collect the materials:
1) Tarp or sturdy material, size 8" x 5"
2) 5" long zippers and its slide.
Start sewing:
1) Sew the zipper at opposite ends.
2) Inset the zipper slide.
3) Turn it inside out.
4) Sew as shown in the picture (on the left) with the zipper flat (where the zipper is when the zipper is pulled down) and the zipper folder (where the zipper is when the zipper is pulled up).
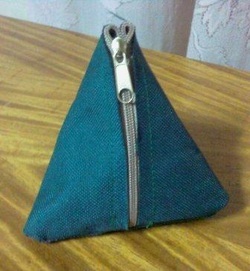
Reverse the coin purse to reveal a fancy and functional coin purse.
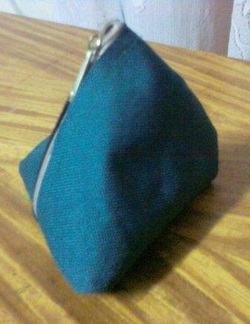
Another side.
I have a bag for folders that I disintegrated to integrate some of its parts into my projects. I found a part of it and we are going to use it to make a sturdy little coin purse.
We will need:
1) A vinyl cut into 5" x 5".
2) 5" long zipper and its slide.
You can see how easy it is. We only need two things.
We start by:
1) Sew the zipper at opposite ends of the vinyl.
2) Put the zipper slide.
3) Turn it to its wrong side and sew the sides.

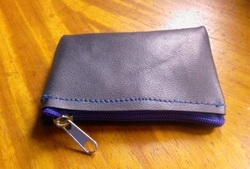
No sweat. If you reverse the coin purse, we have the finish product looking expensive and durable.
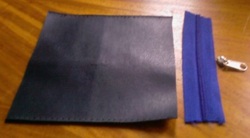
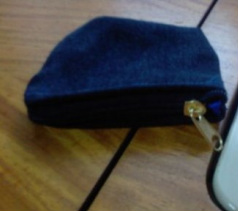
We will be making a denim coin purse, you can start with a new denim or you can recycle your old denims. I used mine with a denim that I cut off from a pair pants that I made into a shorts.
What we need:
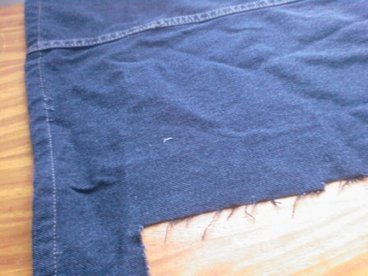
1) We need a denim, recycled or not.
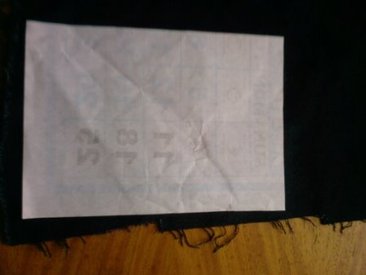
2) Cut a piece of paper, size 5" x 7". Then place on top of the denim and cut around it.
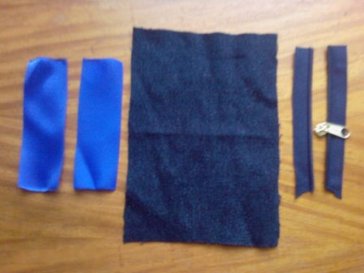
3) 2 pieces of blue ribbons, size 4" x 1 1/2 ".
4) A zipper, size 5".
We are now ready to make the coin purse:
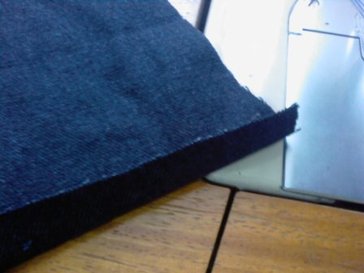
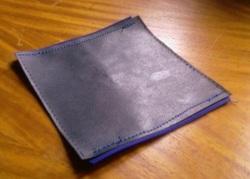
1) Fold half an inch at both sides of the denim.
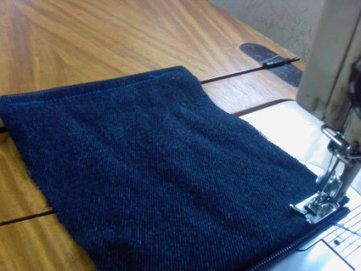
2) Sew the zippers at both ends.
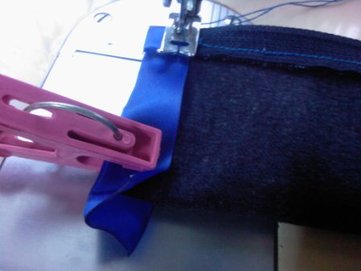
3) Fold the denim, the wrong side out.
4) Sew the ribbon to seal the side of the coin purse.
The ribbon will hold the denim together so that you will not get those loose threads after some time.
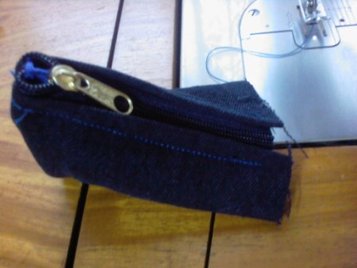
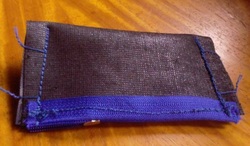
5) Reverse it to show the right side to install the slider. Its a catastrophe forgetting about the slider when your project is done and it don't have a slider.
6) Reverse it again to sew the other side of the coin purse.
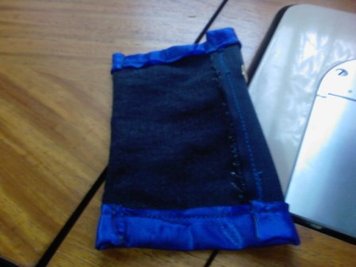
This is the last step. Reverse it inside out.
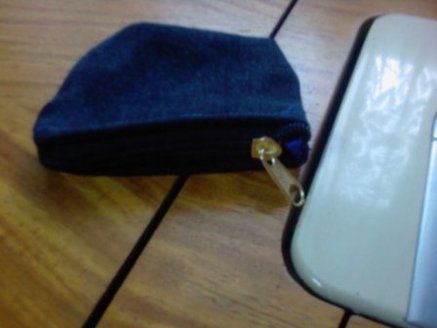
And now we made our denim coin purse from a denim surplus.

 RSS Feed