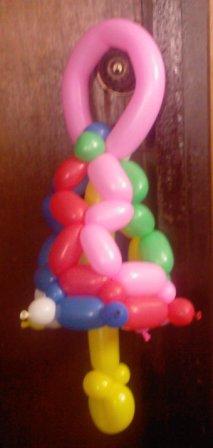
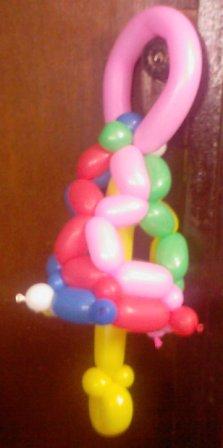
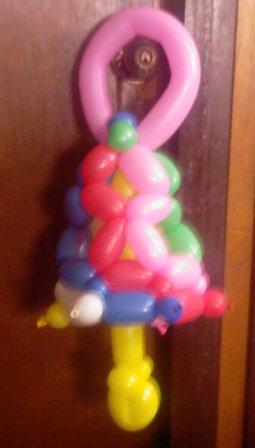
The famous christmas chimes were embedded totally in this balloon bell. A great decor on Christmas, outdoor or indoor.
|
The famous christmas chimes were embedded totally in this balloon bell. A great decor on Christmas, outdoor or indoor.
0 Comments

Got crazy with a huge star lantern with fun assorted colors. 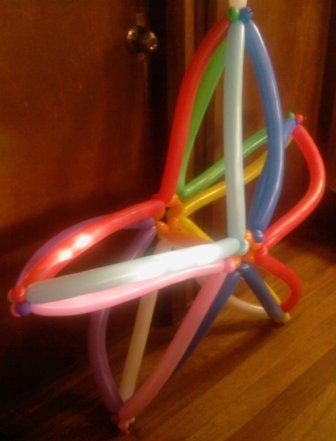
Letter J bookmark is an innovative take on the regular bookmarks we buy from the stores. 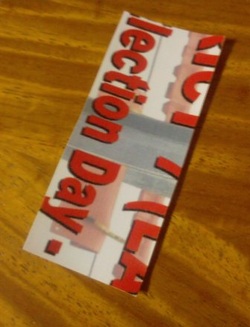 We only need a Tarpaulin which we cut from promotional ads scattered around the block. It measure 3.5" x 1.5". 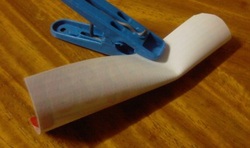 Fold the tarpaulin lengthwise, smooth-en one side by cutting. 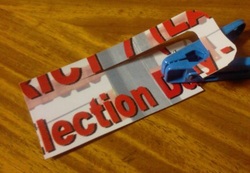 Start cutting the big letter J by following the edge at 1/3" width and stopping half inch before the top. 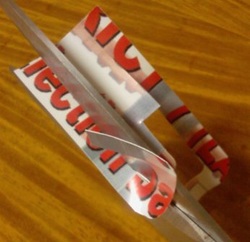 Reverse and cut out the second J from the middle and stop half inch before the top. 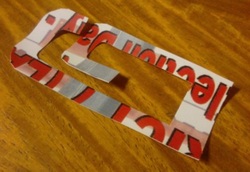 Clear the middle by removing it. And your output will look like the picture shown. 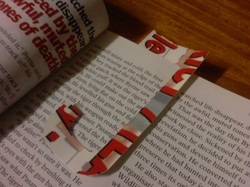 This is the big letter J. 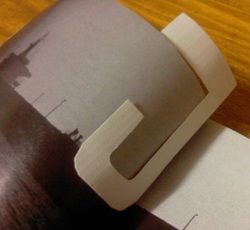 The second and smaller letter J. 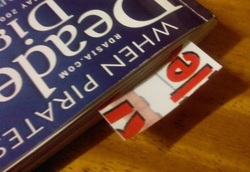 Looks like a regular bookmark when the letter J cannot be seen but when you open the book you see creativity.

Reminiscence of the Masskara Festival of Bacolod. For our project a smile for every page. The bookmark of smiles. 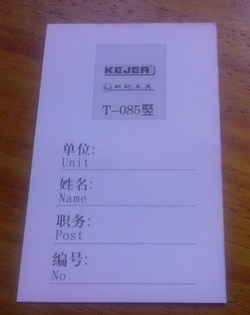 For this tutorial, we only need a cardboard size 2 inces by 4 inches. 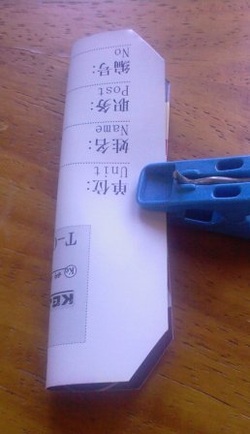 Cut out the sides to create fuller edges. 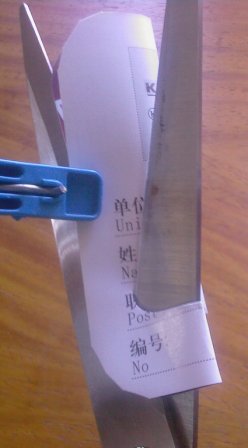 Half inch from the bottom, cut straight then curve up half inch. 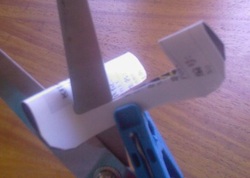 Half inch before the top, start cutting at a curve then stop. Do not cut all the way through. 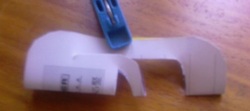 Remove 1/3 of the middle piece as shown. What is left will become the smiley. Cut the mouth like shown. 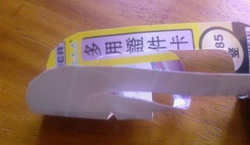 Fold the middle piece to be able to cut triangles to where the eyes should be. 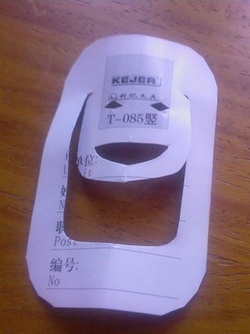 Your bookmark should look like this now when unfolded. 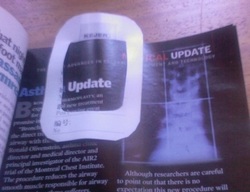 Letter O shown from this side. And the smiley is at the other side of the page in turn holding the page to prevent it from accidental removal. 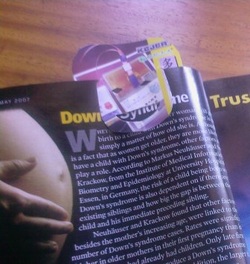 Stress free warm smile every time you open your book. 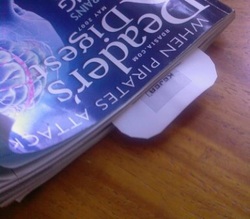 Shown as a regular bookmark. With happiness inside.

Its a bookmark shaped like a man. An innovative take for a useable and delightful bookmark. 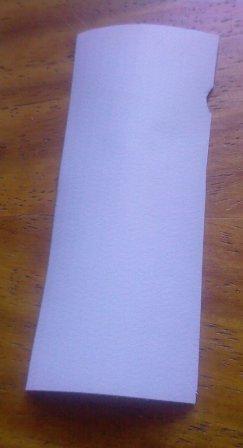 We only need a tarpaulin at 3.5" x 1.5". 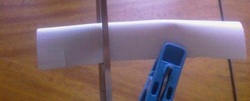 Cut 1/3" from one side to serve as the feet. Then move and inch higher to cut out the hands. 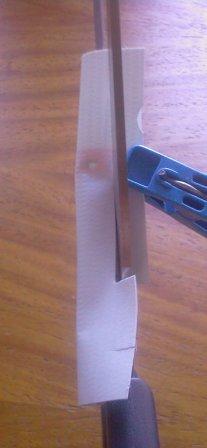 Cut 1/3" from the side then move upwards until 1.5" before the top. 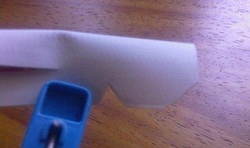 From the top, measure 1" then cut out a small triangle as shown to serve as the separation of the head and body. 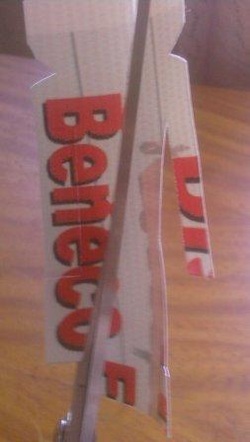 Unfold it then form the foot, cut towards the center or almost at the center to give allowance for the waist and body as shown. Do it at both side. Shape the body not to thin so that it will not easily break. 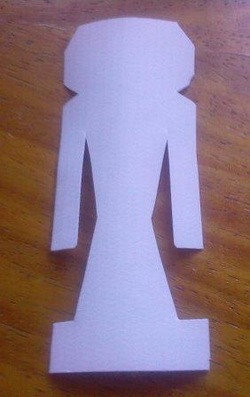 There you have the sexy output that look like an Egyptian king or mistress. 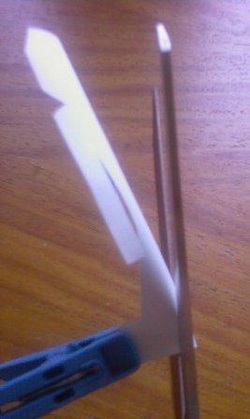 Put a modern look by showing the foot. Cut at the base with feet as wide as the hands. 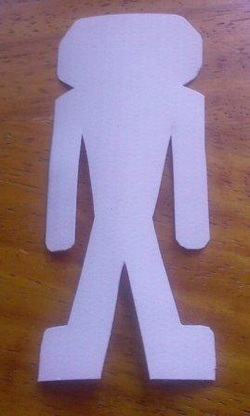 These is a modern man with hood. make sure to smoothen the hands to give an appealing look. 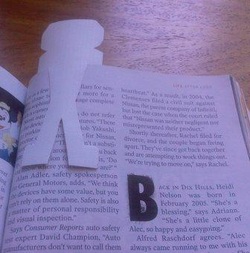 Shown is the proper way to bookmark, the man holding the page with both his hands. 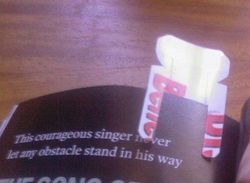 The man shown from the other side. 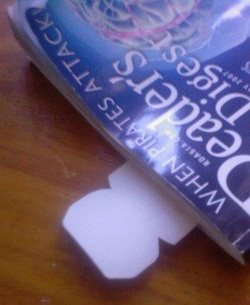 Head and shoulder shown when the book is closed.
Lets try to make a coin purse with a long zipper, with out cutting it and sewing at opposite ends. We need: 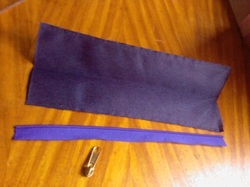 1) 8" x 4" cloth or like what I used here is a water proof material used in back packs. 2) 8" long zipper, yes it have no partner. 3) Zipper slide. Few materials to work with. Very easy project. We start off by: 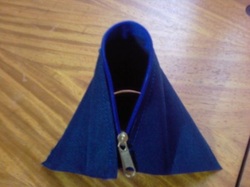 1) Sew the zipper at one of the edge, the put the zipper slide. 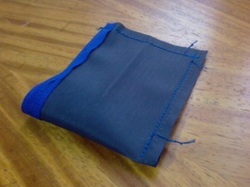 2) Put it at its wrong side. 3) Sew the open side. 4) Sew the open bottom. (You don't need to do this) I wanted to secure more the stitches by tying the threads before cutting them. 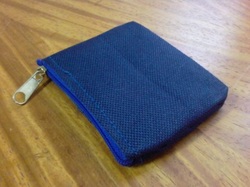 5) Reverse the coin purse and we have our done project.

We will now create a bookmark which I made out of need for the book I was trying to read for days. It's a simple and easy do-it-yourself project. 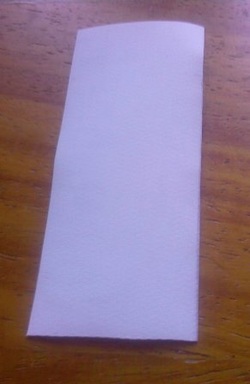 All we need is a tarpaulin of 3.5 inches by 1.5 inches. 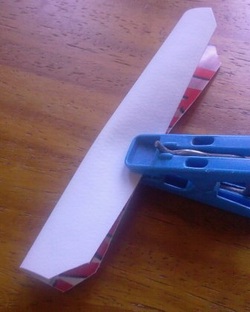 We start doing the project by: 1) Fold the material lengthwise and cut the edges, to create a curved edge.  2) Cut trough the center starting from the bottom and stopping about half an inch at the top. 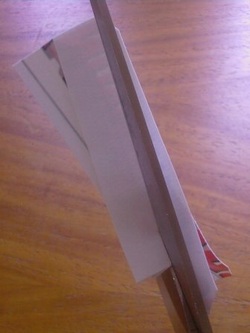 3) Then fold it again, continue cutting from the center horizontally then cut down from the center to show quarters. 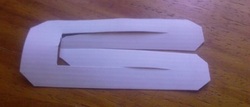 When unfolded this is how it would look.  Gorgeous on paper.  And able to bookmark a clamp of pages. 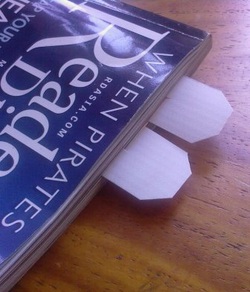 How it look when used.

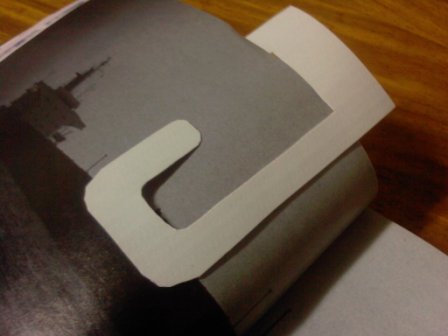
A very simple modification from the usual bookmark that we usually make. This bookmark will hold on to the page it is bookmarking so that it will not accidentally slip off from the book. 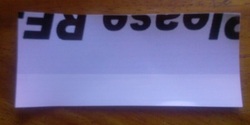 We only need a Tarpaulin of 3.5 by 1.5 inches in size.  Instructions: 1) Fold the material into two but don't press at the middle. 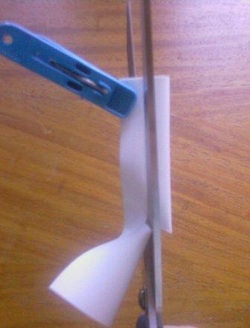 2) Measure 1/3 of the length of the material then cut a 30-45 degree until the middle of the folded material. 3) From the middle cut upward stopping about half an inch before the top. 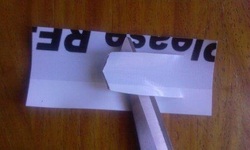 This is how it looks like when unfolded with a pointed cut at the center.  Clip it on paper like so. 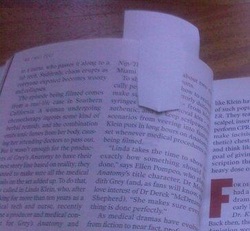 As how it looks at the back 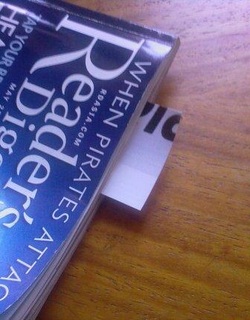 How it looks when used.
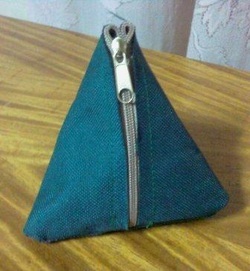
This is a fancy coin purse which you cannot hide in your pockets but in you bags. Collect the materials: 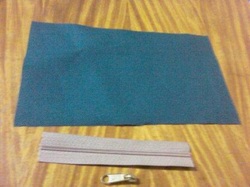 1) Tarp or sturdy material, size 8" x 5" 2) 5" long zippers and its slide. Start sewing: 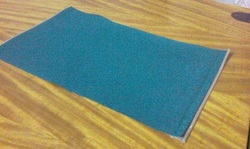 1) Sew the zipper at opposite ends. 2) Inset the zipper slide. 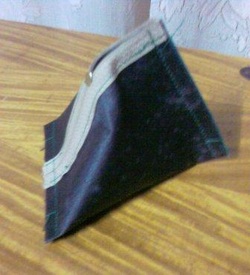 3) Turn it inside out. 4) Sew as shown in the picture (on the left) with the zipper flat (where the zipper is when the zipper is pulled down) and the zipper folder (where the zipper is when the zipper is pulled up). 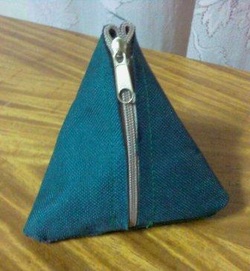 Reverse the coin purse to reveal a fancy and functional coin purse. 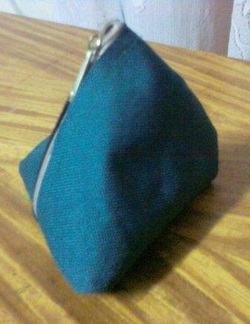 Another side.
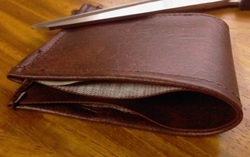 Making men's wallet is easy. This project is a simple wallet with one pocket for cash only. We start off by collecting the materials: 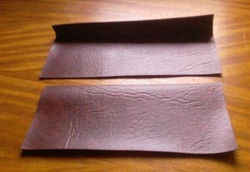 1) 2 piece of vinyl material. One 7-1/2" x 3-1/2" and one 7" x 3". That's all you need, just vinyl or leatherette or leather. All are magnificent. Start sewing with: 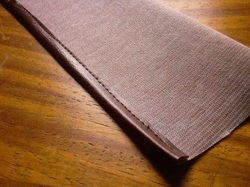 1) Sew 1/4" at one side of the bigger vinyl. 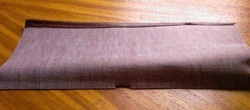 2) Determine the center. 3) Between the center, remove a 1/2" x 2mm. Which will look like a chimp at the bottom of the bigger vinyl (picture). 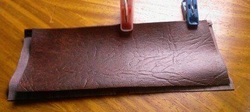 4) Lay the second vinyl on top of the other one. Notice how the smaller vinyl is not centered. Move it further to the right. Leaving a quarter inch for stitches later on. 5) Sew the right bottom part of the big vinyl over the smaller vinyl. 6) Likewise pull the smaller vinyl to the left, use some clumps. Leave a quarter inch space, do not cover the bigger vinyl. Then sew the left bottom of the bigger vinyl over the smaller vinyl. 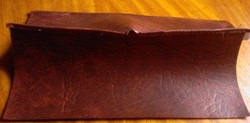 7) Procedure 4-6 created a small hole at the center of the wallet. 8) Sew the sides of the wallet. The bigger vinyl sewn over the smaller vinyl. 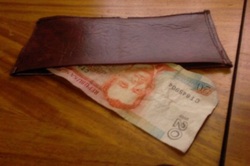 And here we have it, the finished men's wallet.  When it is folded.
| Whats New
Share to
AuthorI like making things for myself and saving me such in return. CategoriesAll ArchivesMay 2012 Latest News
Links
|
 RSS Feed